The Library · At the worktable
A Journal That Can Begin Again
Make a refillable elastic-cover journal
Featuring Book Nook
There is something comforting about a cover you can keep using. When one little notebook is full, you slip in another. The outside gathers its own history while the pages keep making room for new beginnings.

Finished cover size: about 4½ wide × 8½ tall.
Notebook insert: 4 wide × 8 tall.
Allow: about one hour.
Gather and Cut
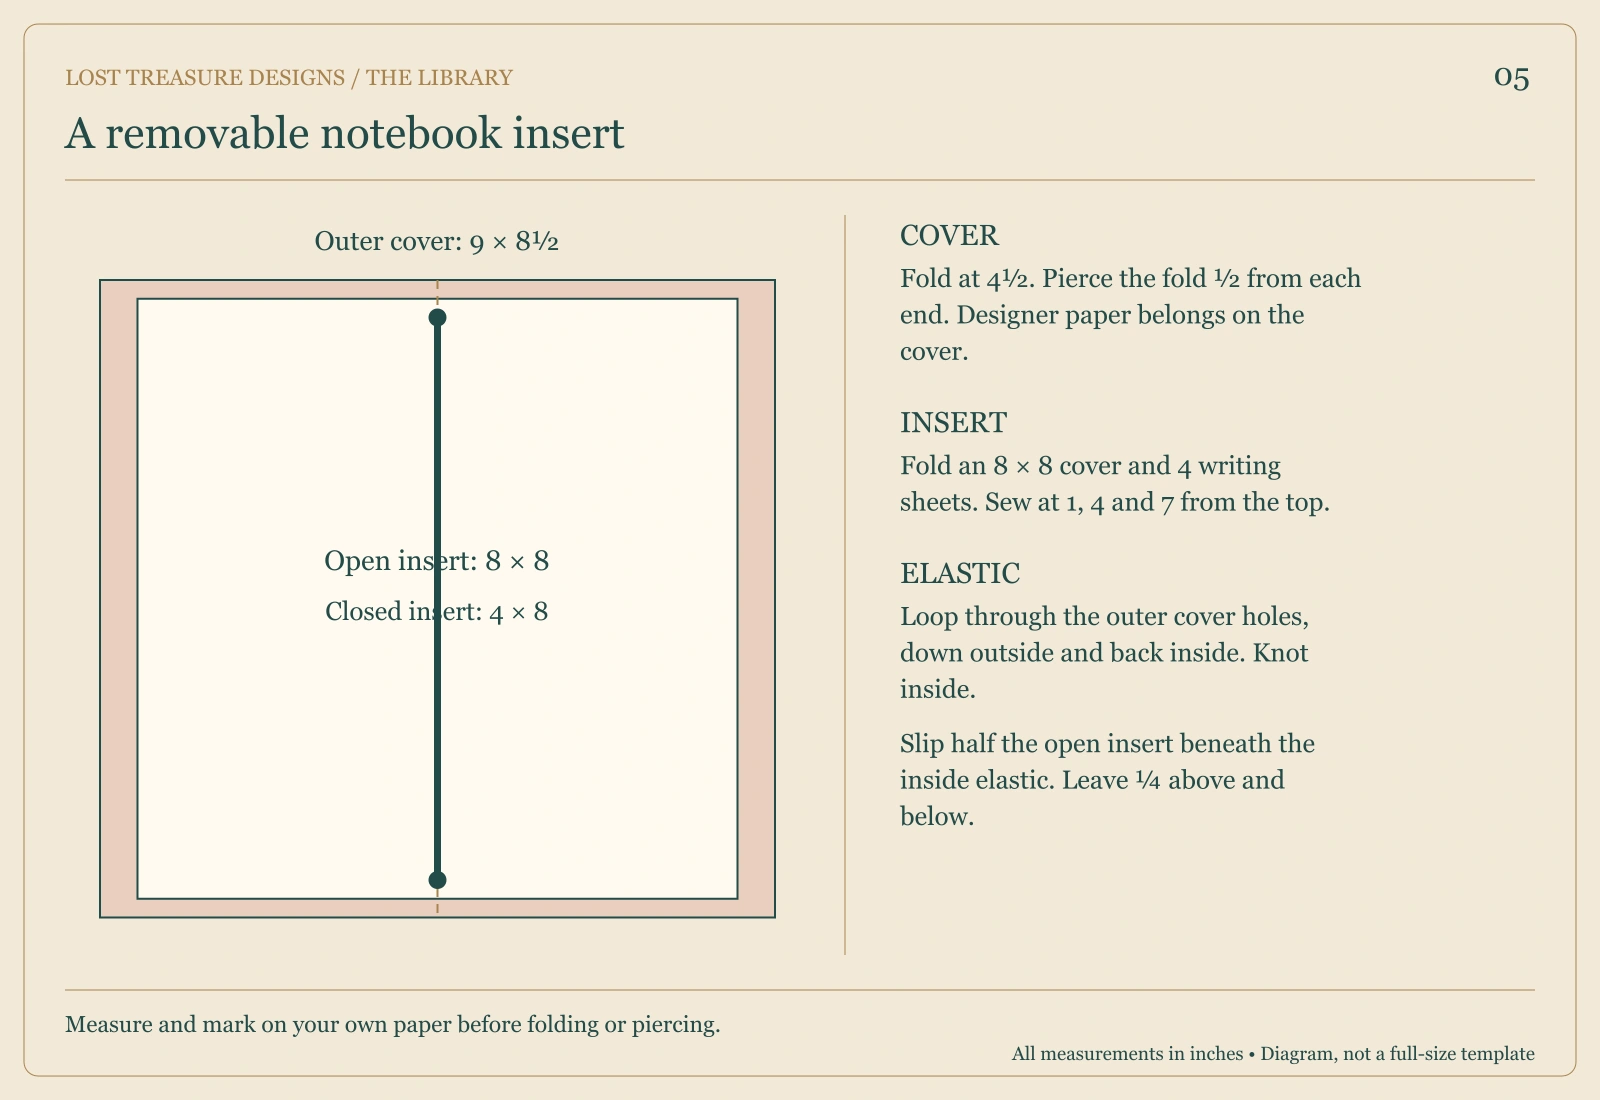
- One flexible, sturdy cardstock cover, 9 wide × 8½ tall.
- One insert cover, 8 × 8.
- Four writing-paper sheets, each 8 × 8.
- Approximately 24 inches of 1–1.5 mm round elastic.
- Approximately 28 inches of binding thread.
- Needle, awl, ruler, scoring tool, and clips.
Let's Make It
- Score the outer cover vertically at 4½ inches and fold it in half.
- On this spine fold, mark two elastic holes: ½ inch from the top and ½ inch from the bottom. Pierce them just large enough for the elastic.
- Fold the four writing sheets and insert cover in half to make a 4 × 8-inch booklet. Nest them together.
- Pierce the booklet fold 1, 4, and 7 inches from its top.
- Sew from inside through the middle hole, leaving a 4-inch tail. Go back inside through the top hole, then outside through the bottom. Return inside through the middle, with the two ends on opposite sides of the long interior stitch. Tie a square knot around that stitch.
- Thread the elastic from inside the outer cover through the top hole, down the outside spine, and back in through the bottom hole. Join the two ends inside with a secure double knot. This creates an inside and outside length of elastic along the spine.
- Adjust the elastic so it rests against the spine without bowing the cover. Leave the ends long until you have tested the fit.
- Open the notebook at its center. Lift the inside elastic and slide half the booklet beneath it, so the elastic settles into the center fold over the stitched spine. The booklet should sit centered with ¼ inch of cover above and below.
- Close and reopen the journal. Adjust the knot if needed, then trim the elastic tails to about ½ inch.
Make It Yours
Use a loose ribbon tied around the closed journal as a simple closure. Keep the outer cover flexible; thick chipboard will not work with this single-fold design.
A Little Worktable Help
If the elastic cuts into the holes, loosen it and reinforce the inside cover at those points with a small piece of bookbinding tape. A slightly relaxed fit is better than a bowed cover.
Before You Call It Finished
Remove and reinsert the notebook once. It should stay put when closed and still be easy to replace.
Your First Little Story
Give this insert one small purpose: garden notes, reading thoughts, or things you want to remember this month.
Project images are illustrative concepts. Use the construction diagrams and written steps as your making guide.
Back to the Library