The Library · At the worktable
A Little Book of Collected Pages
Make a four-hole stab-bound journal
Featuring Dahlias
Loose pages can become a beautiful book without being folded. This binding wraps thread around the spine edge, giving a gathered stack a rhythm of its own. It suits writing, collage, and small flat treasures.
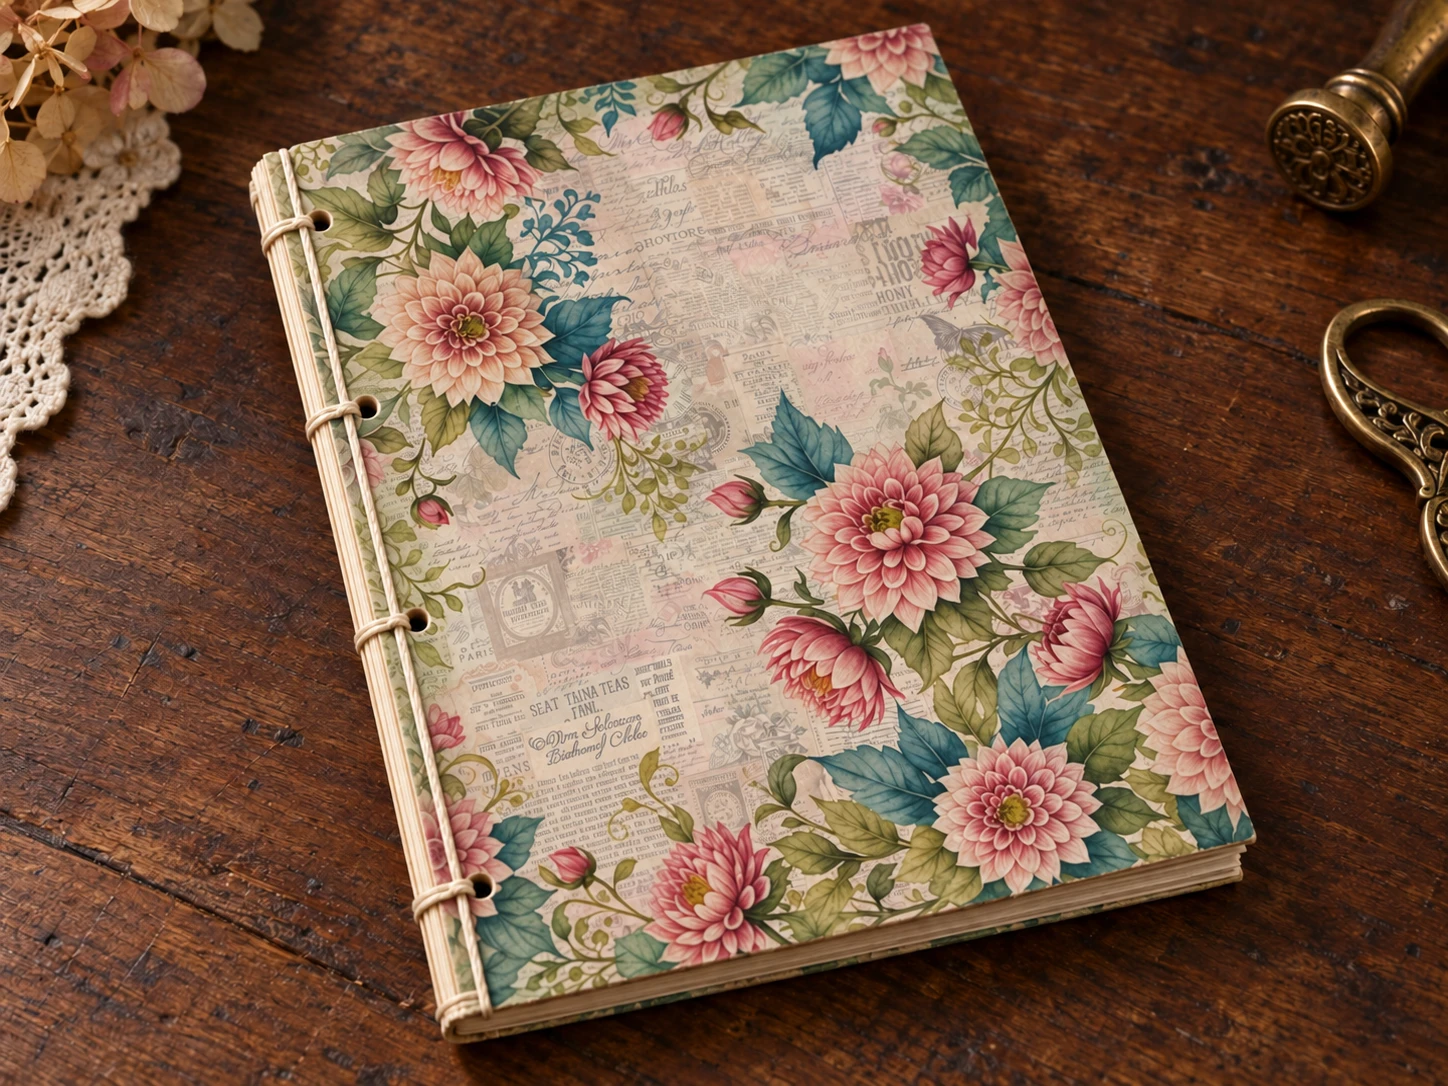
Finished size: 4½ wide × 6 tall.
Inside: eight loose sheets, providing 16 writing sides.
Allow: about 75–90 minutes.
Gather and Cut
- Eight writing-paper sheets, each 4½ × 6.
- Two flexible cardstock covers, each 4½ × 6.
- Approximately 48 inches of strong binding thread.
- Needle, awl, clips, ruler, pencil, and a thick cardboard support.
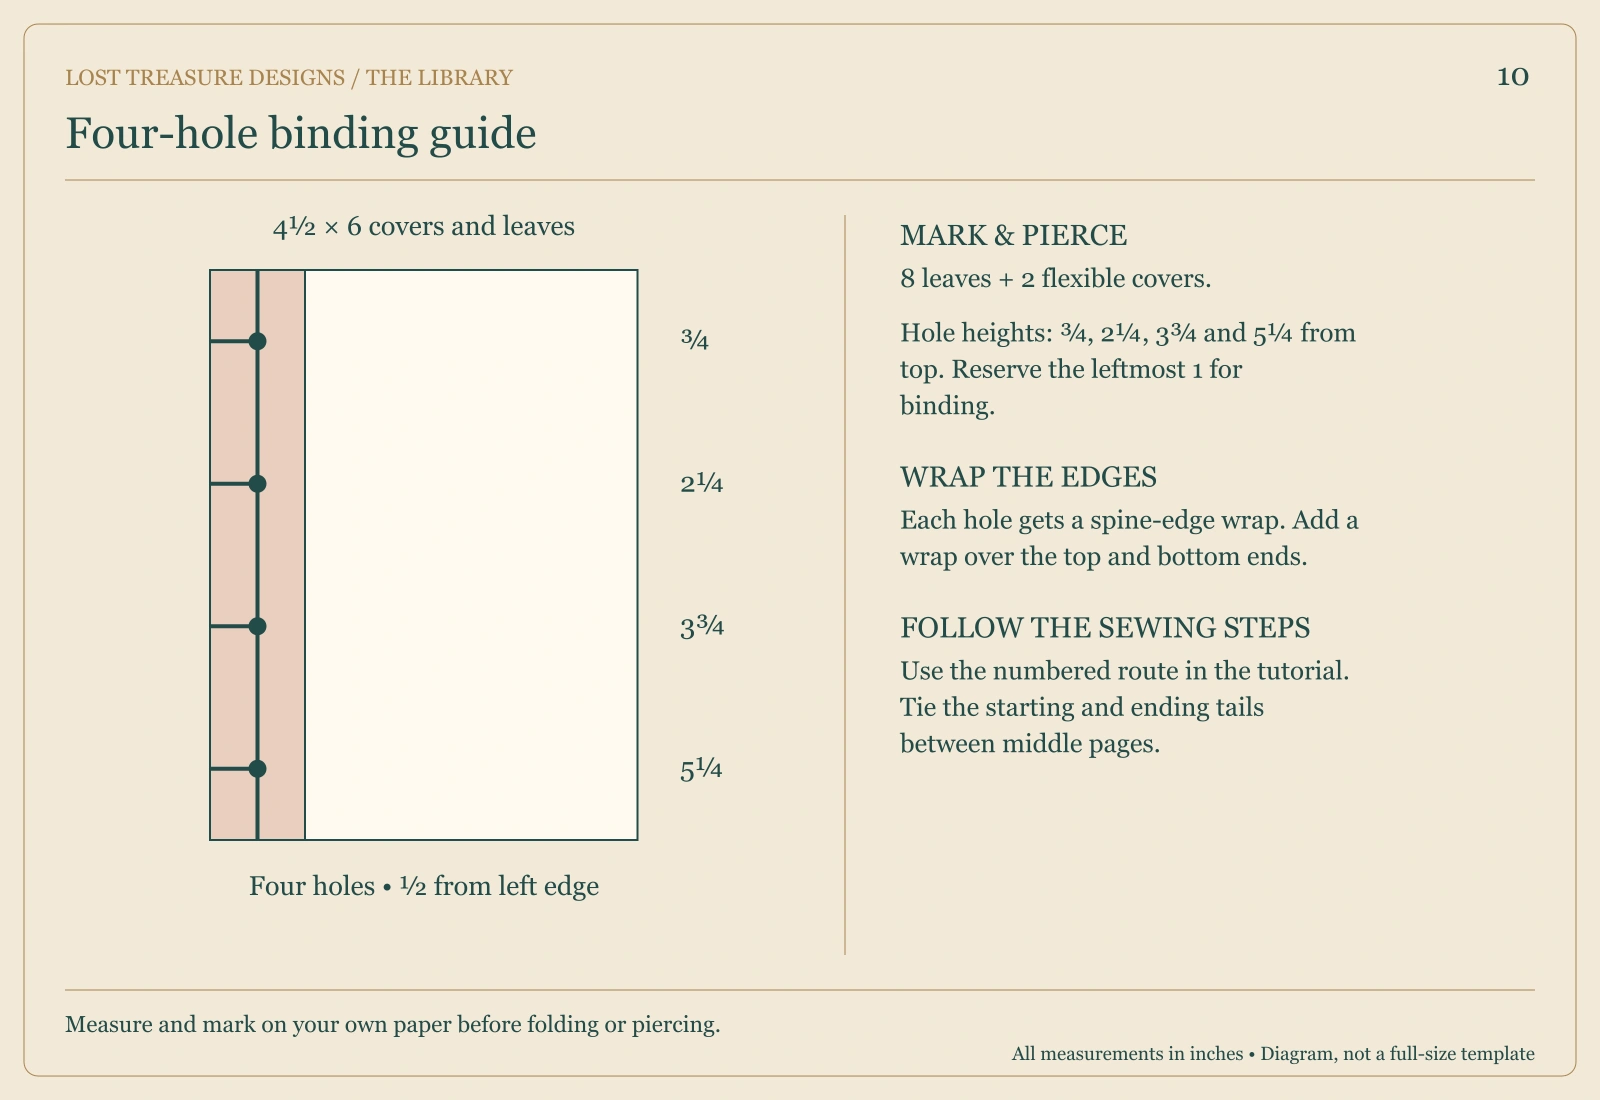
Reserve the leftmost 1 inch of every page as a binding and turning margin. This book will not open flat like a pamphlet.
Let's Make It
- Stack the covers and pages with all edges aligned. Clip securely.
- Mark a line ½ inch from the left edge of the front cover. On that line mark four holes at ¾ inch, 2¼ inches, 3¾ inches, and 5¼ inches from the top. Number them 1–4 from top to bottom.
- Pierce through the stack at these marks. Work over the cardboard; keep your fingers out of the awl's path. If needed, punch small groups using the same template and reassemble.
- Begin halfway through the paper stack at hole 2. Push the needle through the front half of the book and out the front cover, leaving a 4-inch tail hidden between the middle pages.
- Take the thread around the left spine edge to the back. Pass through hole 2 from back to front. This makes the first wrap.
- Travel down the front to hole 3; sew through to the back. Wrap around the left edge to the front, then pass through hole 3 to the back again.
- Travel down the back to hole 4; sew through to the front. Wrap around the left edge and pass through hole 4 from back to front again.
- Wrap around the bottom edge of the book to the back and pass through hole 4 to the front once more.
- Travel up the front to hole 3 and through to the back. Travel up the back to hole 2 and through to the front. Continue up the front to hole 1 and through to the back.
- Wrap around the left edge to the front and pass through hole 1 to the back again. Wrap around the top edge to the front and pass through hole 1 to the back once more.
- Travel down the back to hole 2 and sew through to the front. At that same hole, guide the needle back through only the front half of the stack, emerging between the middle pages beside the original tail. Take care not to pierce an existing thread.
- Tie the two ends with a square knot between those pages. Trim the tails. Keep the tension snug without bending the stack.
Make It Yours
Decorate the cover before sewing, or keep embellishments clear of the thread afterward. A collection of flat botanical sketches looks lovely in this format.
A Little Worktable Help
Keep the stack clipped during sewing. When the directions say “wrap,” carry the thread around the outside edge, not through another hole.
Before You Call It Finished
Check that all four holes have spine-edge wraps, both ends of the spine have top or bottom wraps, and the pages turn gently within their margin.
Your First Little Story
Make a small illustrated record of things you found in one place: a leaf, a doorway, a cup, a window, a view.
Project images are illustrative concepts. Use the construction diagrams and written steps as your making guide.
Back to the Library