The Library · At the worktable
A Little Book to Begin With
Make a three-hole pamphlet-stitch junk journal
Featuring Dusty Rose Garden
Sometimes a journal begins with a grand idea. Sometimes it begins with six sheets of paper you love and a little time at the worktable. This month, we're making the second kind: a small, simple book with room to become something entirely your own.
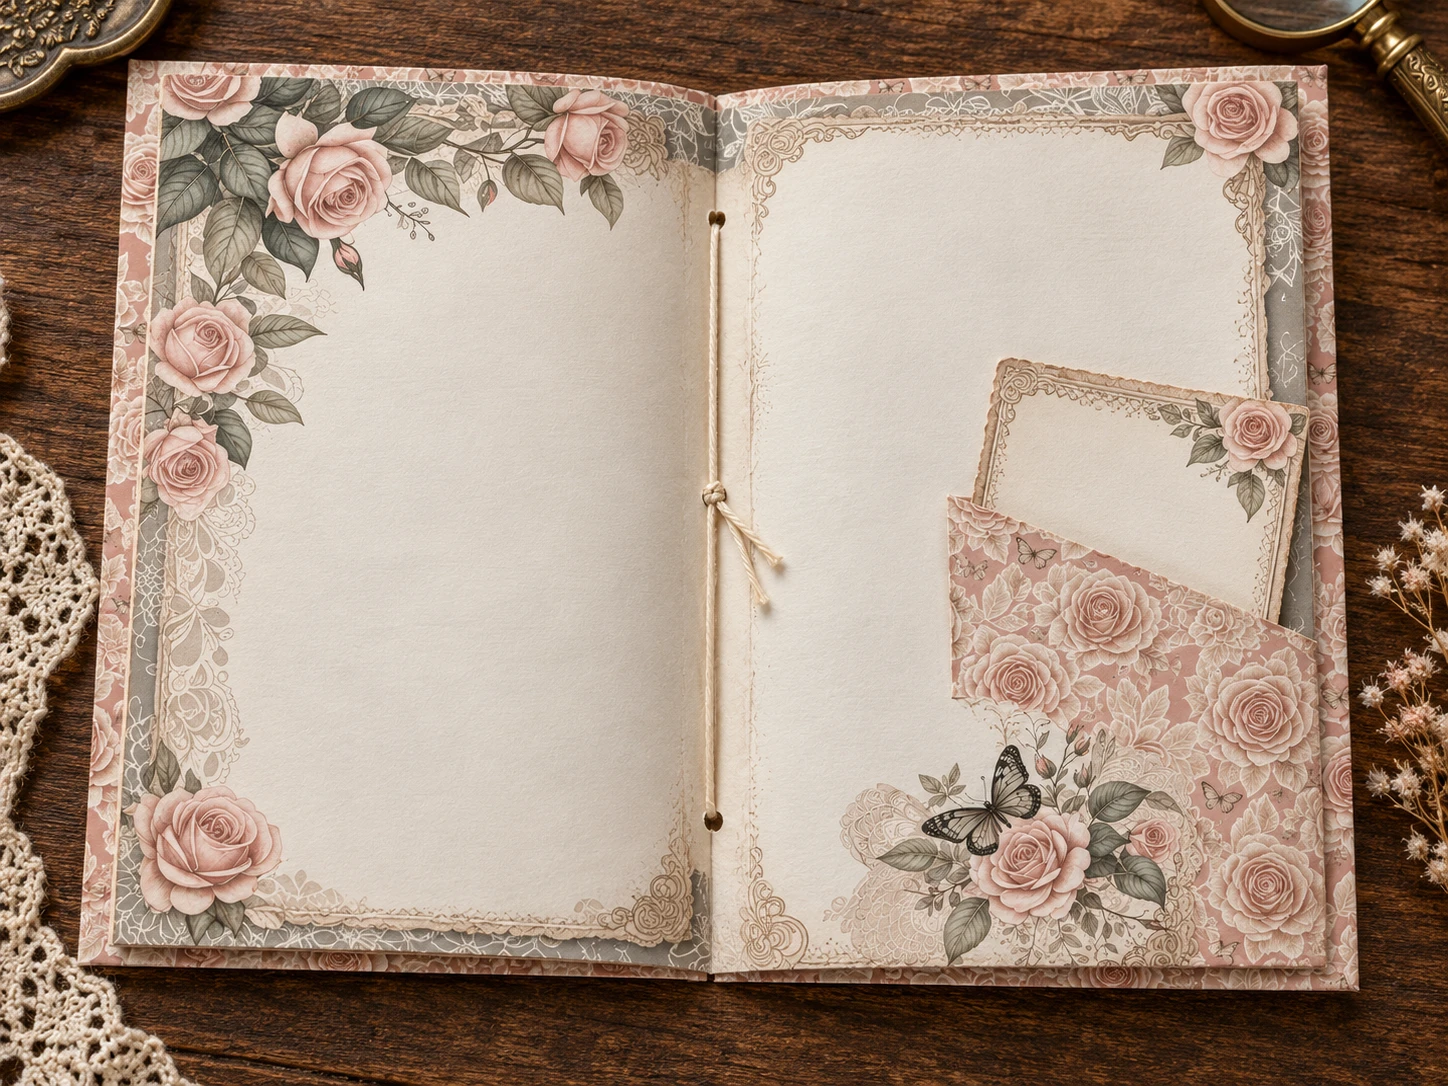
Finished size: 5½ wide × 8½ tall.
Inside: 6 folded sheets, making 24 individual pages.
Allow: about 45–60 minutes, plus decorating.
Gather and Cut
- One piece of medium cardstock, 11 wide × 8½ tall, for the cover.
- Six sheets of writing-weight paper, each 11 × 8½.
- About 30 inches of strong bookbinding or embroidery thread.
- A blunt bookbinding needle, awl, ruler, pencil, clips, and a bone folder or smooth spoon.
- Scrap paper for a punching guide and a piece of thick scrap cardboard or a punching cradle.
Keep this first book fairly light. Ordinary writing paper and a few printed sheets are easier to fold than six sheets of cardstock.
Let's Make It
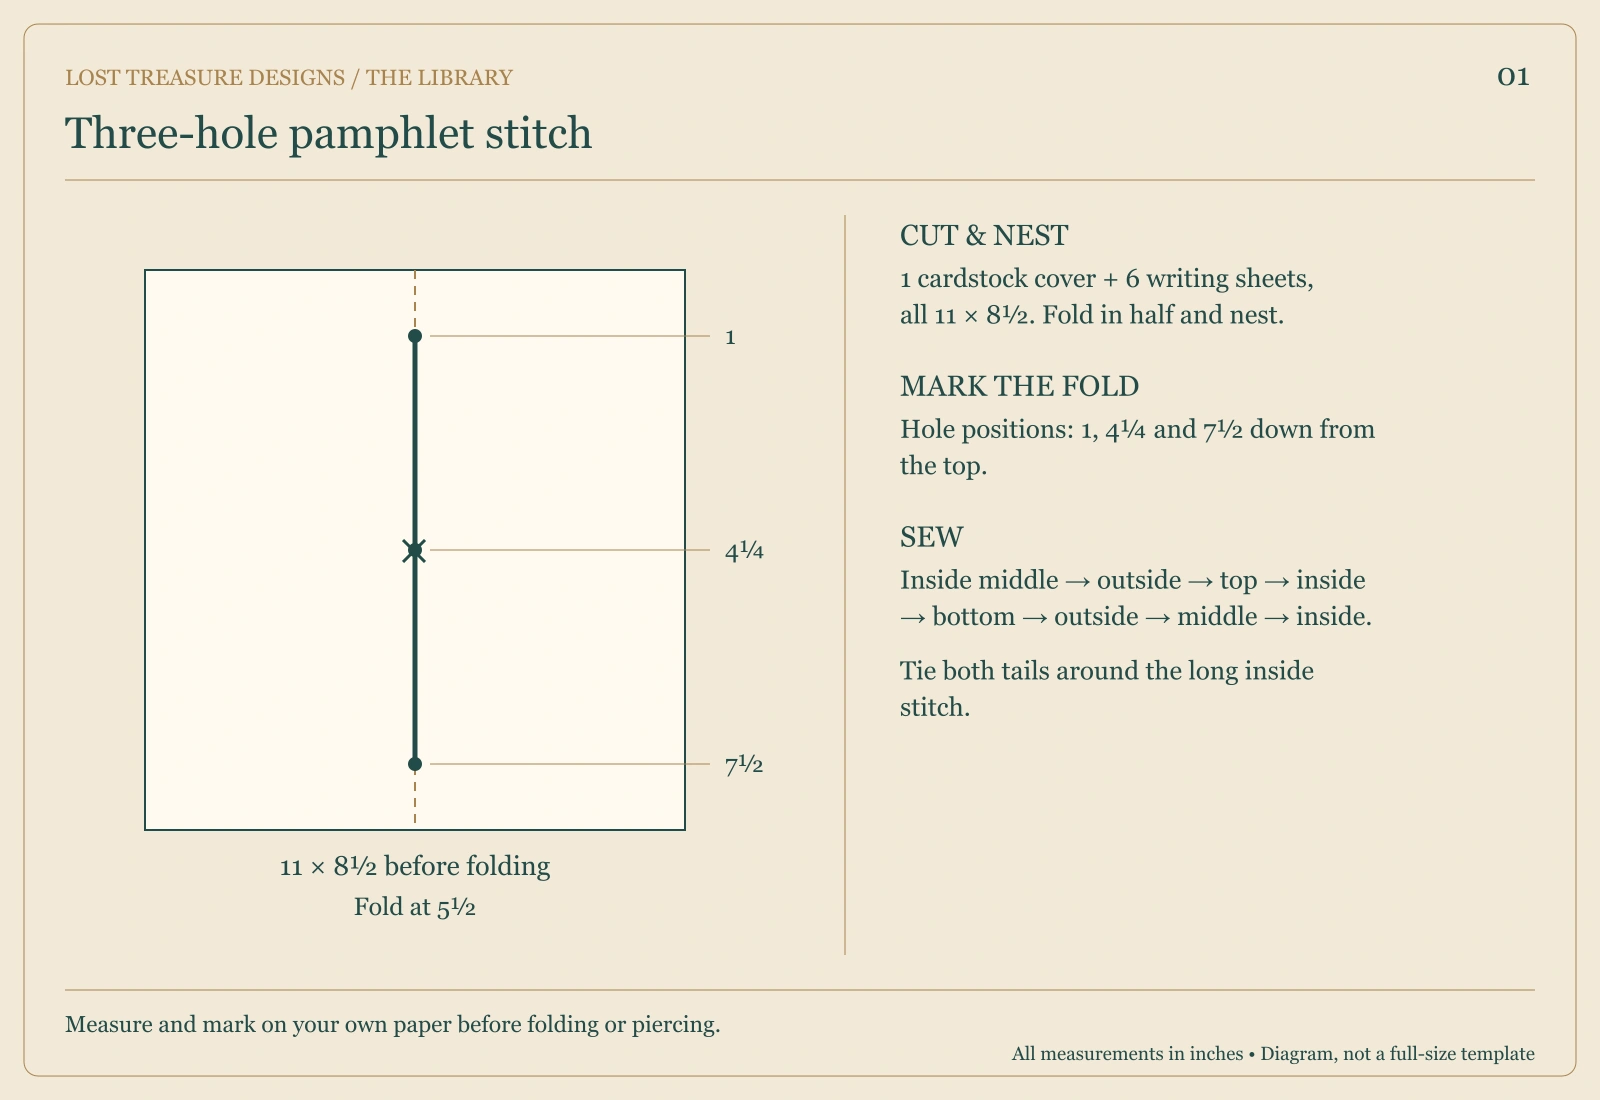
- With each sheet lying landscape, fold the 11-inch width in half. Each folded leaf is now 5½ × 8½. Fold the cover the same way.
- Nest the six sheets inside one another. Slip this single group of pages into the cover, tapping the top and bottom edges into alignment. Clip the stack away from the fold.
- Make a guide 1 inch wide × 8½ tall. Mark its center line lengthwise. Along that line, mark holes 1 inch, 4¼ inches, and 7½ inches from the top. The middle hole is the center of the book.
- Open the book slightly and place the guide in the fold. With the cardboard or cradle beneath it, pierce all layers at the three marks. Keep the awl away from your hands.
- Start inside the book at the middle hole. Sew out through it, leaving a 4-inch tail inside.
- From outside, enter the top hole. Inside, take the needle all the way down to the bottom hole and sew out. Skip the middle hole on this pass.
- From outside, return through the middle hole. Bring the needle inside on the opposite side of the long interior stitch from your starting tail.
- Gently snug the thread. Tie the two ends around that long stitch with a square knot: right over left, then left over right. Trim the tails to about ½ inch.
Make It Yours
Cut a pocket 4½ wide × 3½ tall. Apply a narrow line of glue along its left, right, and bottom edges, then place it on an inside page. Leave the top open. A 4 × 3-inch card will fit inside once the glue is dry.
A Little Worktable Help
If the paper puckers, the thread is too tight. If the inner pages peek past the cover, that's normal nesting creep. Leave the soft uneven edge, or carefully trim only the protruding fore-edge after sewing. Keep thick decorations away from the fold.
Before You Call It Finished
Open the book at the middle and near both covers. The pages should turn without pulling at the holes, and the center knot should catch the long stitch.
Your First Little Story
On the first page, write about one small thing you noticed today. A whole journal can begin with that much.
Project images are illustrative concepts. Use the construction diagrams and written steps as your making guide.
Back to the Library